Pages

Showing posts with label Summer of Crafts. Show all posts

Tuesday, July 3, 2012

Headbands!


Headbands are expensive and it's ridiculous to spend $10-$20 for a headband. Want to know a secret? They are incredibly cheap and easy to make. I have figured out how to make a wide variety of types of headbands. This is the Square cut headband.   
 I made some Fourth of July ones for the girls. It cost me a total of $5 dollars and I still have a ton of materials left to make more. I like to use fat squares (fabric that is pre-cut for quilting) because there is more than enough fabric and  you can buy it for under $2. For these headbands I bought red and white fat squares, blue ribbon, red-white-blue ribbon that was on sale for a dollar/roll, and red felt. I also bought some elastic headbands from Target.  

First I cut several squares of fabric and ribbon. To do this I used my mom's O'lipfa Ruler (also known as a quilting ruler) that has a lip edge. You can find them here.  You can use a regular ruler but I think that this type of ruler is easier to use. Then cut two felt small felt circles. I cut mine about the size of a milk gallon cap. 
Next I made my little fabric "bursts". To do this put a dot of hot glue in the middle of your square and then squeeze the the fabric together. If you twist the bottom of fabric it creates a tighter burst. 

Be sure to hold the burst for a few seconds so the glue has time to set.
If you don't, it will just fall apart. 
After I made my pile of bursts, I cut off the ends so I had a flat edge. By cutting off the end, it makes it easier to glue on to the felt. The end isn't really needed, it's just extra fabric and glue.  Just be sure not to cut off to much or else the burst will fall apart. 

Now it's time to make the actual headband piece! On my little felt circle I put a dot of glue in the center.  
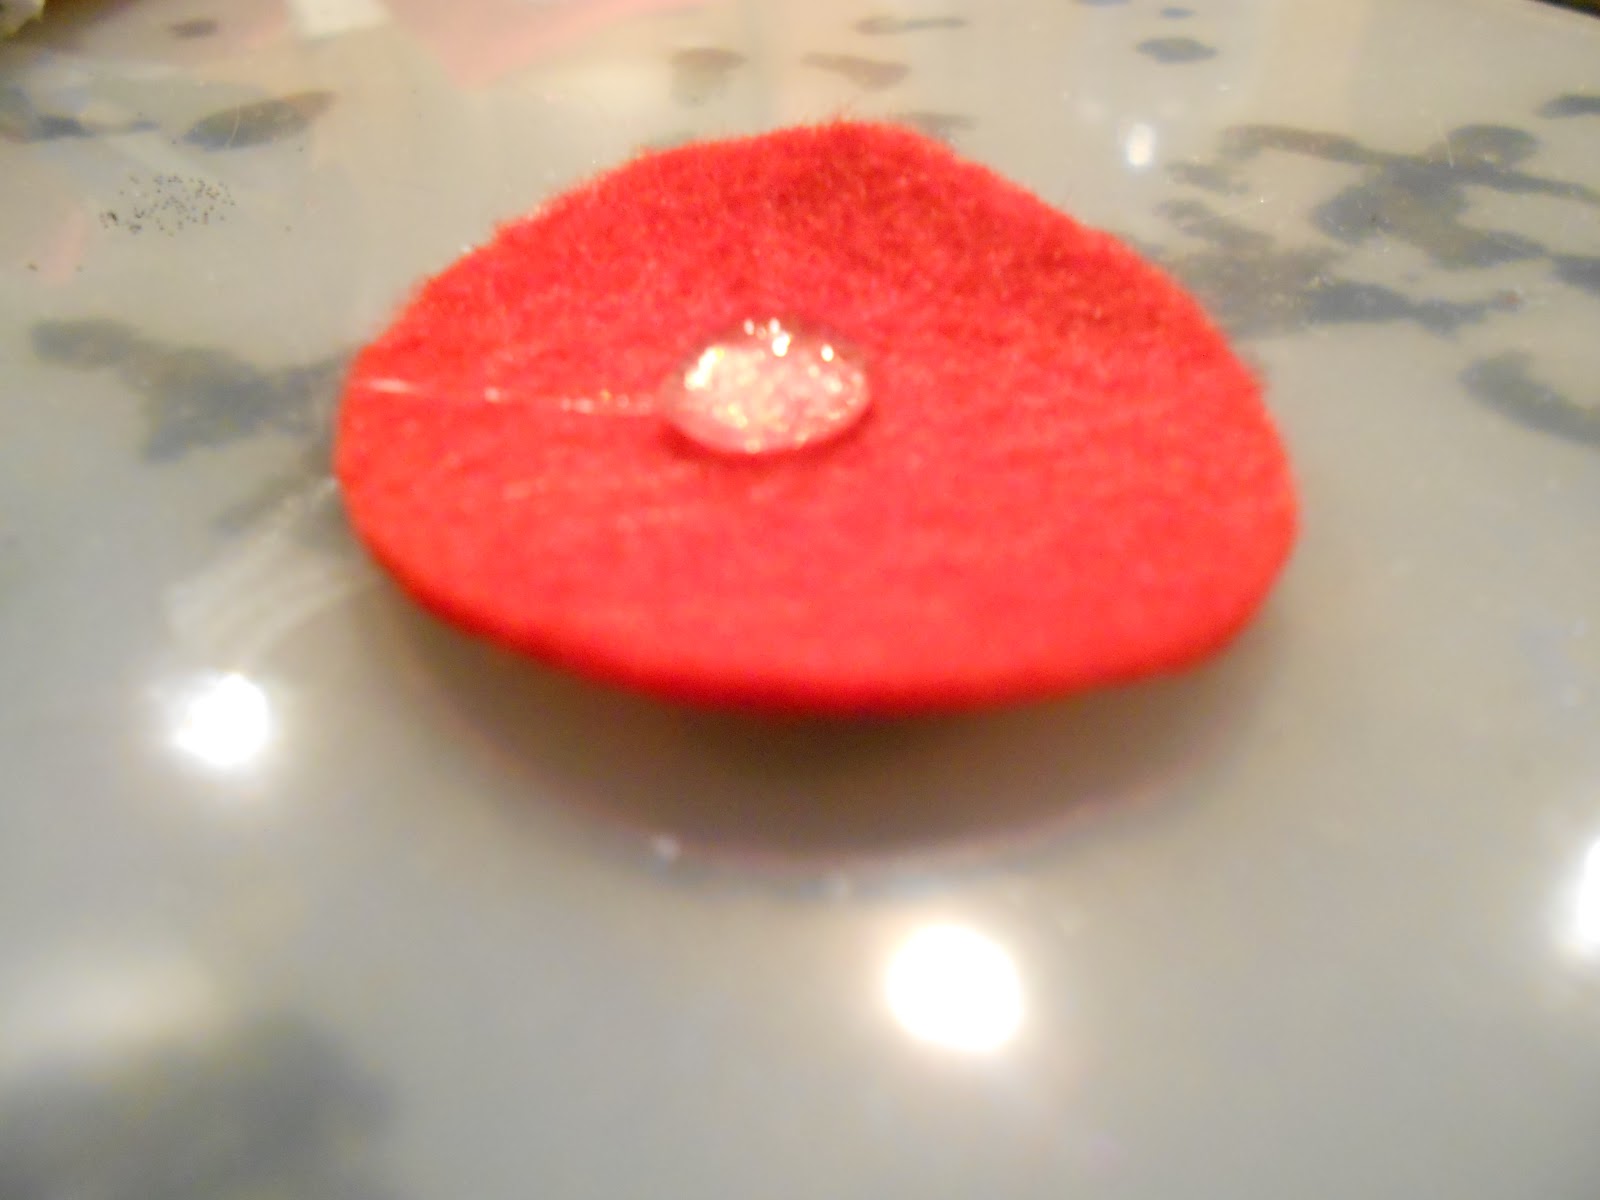
Then put a burst on the glue dot. Hold it for about 5-10 seconds so the glue can set. Then add another dot of glue and add another burst. Keep doing that process until the red felt isn't visible or until your happy with your headband piece. Try to keep the bursts close together. To do this, I put put my dots of glue touching the burst that was already on the glued onto the felt. 

Pretty pile of bursts. 


Let's attach this to some elastic! I like to use elastic headbands that can be found at Target or Walmart. This particular brand is Goody. You can use hard plastic headbands, I just don't like them because they hurt my head and I think these are more comfy for little kids to wear. To attach my bursts to the headband, I first cut my second felt circle to a smaller circle. This is just so that the elastic curves better around the wearer's head. Next cover the smaller circle with hot glue. Then place the elastic head band in the hot glue. I then quickly stuck it to the bottom of the larger felt circle that the bursts are attached to.  


Normally the black band does't show. Peyton wouldn't let me tuck it under
her hair. She just wanted her pretty back in her hair!


I also put one on a hair clip. We made Dad wear it and then we made the dog wear it all just to get Peyton to put her headband on. 
Isn't he pretty :P

Yeah this stayed in her fur for about 2 minutes and then she some how
got it out.


Wednesday, June 27, 2012

Spray Tye-Dye Shirts


My mom and I co-crafted last week because the pool was closed for a swim meet. We decided to make tye-dye shirts for the Forth of July. To avoid the mess that would happen with the rubber bands and the dunking of t-shirts into buckets of dye, we spray painted them. You can buy tye-dye already in spray bottles but is cost more and there's not much in them. So we made our own. 
            To make the dye we poured a little bit over a fourth of the bottle of Rit liquid dye into a spray bottle. I picked our spray bottles up at the Dollar Tree and our dye up at Walmart. 

We then filled up our bottles with HOT water and were ready to go. You may have to add or use less dye just depending on the size of your spray bottle and how you want your color to look on the fabric. 
After we made the dye we laid mats on the patio and helped the kids spray their shirts. 


Look at all of the pretty shirts :)


Look at my pretty hand...
It was in the line of fire. But at least it's festive. :)

Wednesday, June 20, 2012

Obleck Slime!

If you are a neat freak don't attempt this. I tried to keep it as clean as possible and it didn't work so well. But the boys had a lot of fun with it and it kept them busy for a really long time so it was totally worth it. Here it is Obleck! 
It's really easy to make, almost too simple! I used a 2:1 ratio, 2 parts cornstarch and 1 part water. I also added some food coloring which turned my hands green... Obleck is not easy to mix together. It likes to be stubborn. I ended up just using my hands to mix it together. 
After I got it all mixed up, I put some disposable placemats down on the table. They have sticky backs so they stayed on the table. They ended up doing absolutely nothing!  


Ollie decided that the tractor needed to be slimed... 
I poured the slime into 3 different cups and gave them to the boys. They had a lot of fun with it and I had a lovely time cleaning it all up. :P 


Thursday, June 14, 2012

Operation Lemonade Stand

The boys have been begging me to let them have a lemonade stand. I finally agreed last week but it took us about a week to just get things together. I had them make signs last week. I told them that they had to be super awesome and they had to decorate them. 
Then yesterday morning they set up a picnic table and taped their signs on to the table. And then people came and bought lemonade and KoolAid. I sat near by in a chair and acted as money keeper. The boys made a total of four dollars, which I thought was pretty good considering that it was cloudy and cold yesterday. They want to have another one next week but they want to add cookies to their list... 


Oliver was all into the whole lemonade stand until the big boys told
him he was too little to help him so he rode his bike instead. 


Wednesday, June 6, 2012

It's All in the Name

My good friend Bobbi graduated from high school and I wanted to make her something that she would be able to keep well past college and make her own style. I roamed around Hobby Lobby until this was thought up of. 

Here's what you'll need: Scrapbook paper, puff paint, scissors, picture frame, and a dry erase markers. (The puff paint is for the letters. If you don't like your handwriting you can use scrapbook letters.)

 Trace the photo that comes with the frame on the scrapbook paper and cut it out. This will be the back drop for your name plate. 
 Next, using the dry erase marker, write the name or saying onto the glass of the frame. It only took me about 27 times before I was satisfied with it. 
 Trace your letters with the puff paint. This took me awhile just because I wanted it to be perfect so I went really slow. 
 Bobbi's going to be attending U of I in the fall so I wrote Iowa Hawkeyes on the background paper. This also took a supper long time because I didn't like the way it looked. 

And TaDa!! Isn't this beautiful? When she gets tired of this background she can change it with any color she likes. Not including the drying time for the paint this project took only about 30 minutes. It could have taken less if I hadn't been so picky. She loved it and it matched her party decor. Now I kinda want to make on for me!