


I made some Fourth of July ones for the girls. It cost me a total of $5 dollars and I still have a ton of materials left to make more. I like to use fat squares (fabric that is pre-cut for quilting) because there is more than enough fabric and you can buy it for under $2. For these headbands I bought red and white fat squares, blue ribbon, red-white-blue ribbon that was on sale for a dollar/roll, and red felt. I also bought some elastic headbands from Target.
First I cut several squares of fabric and ribbon. To do this I used my mom's O'lipfa Ruler (also known as a quilting ruler) that has a lip edge. You can find them here. You can use a regular ruler but I think that this type of ruler is easier to use. Then cut two felt small felt circles. I cut mine about the size of a milk gallon cap.

Next I made my little fabric "bursts". To do this put a dot of hot glue in the middle of your square and then squeeze the the fabric together. If you twist the bottom of fabric it creates a tighter burst.

 |
| Be sure to hold the burst for a few seconds so the glue has time to set. If you don't, it will just fall apart. |
After I made my pile of bursts, I cut off the ends so I had a flat edge. By cutting off the end, it makes it easier to glue on to the felt. The end isn't really needed, it's just extra fabric and glue. Just be sure not to cut off to much or else the burst will fall apart.

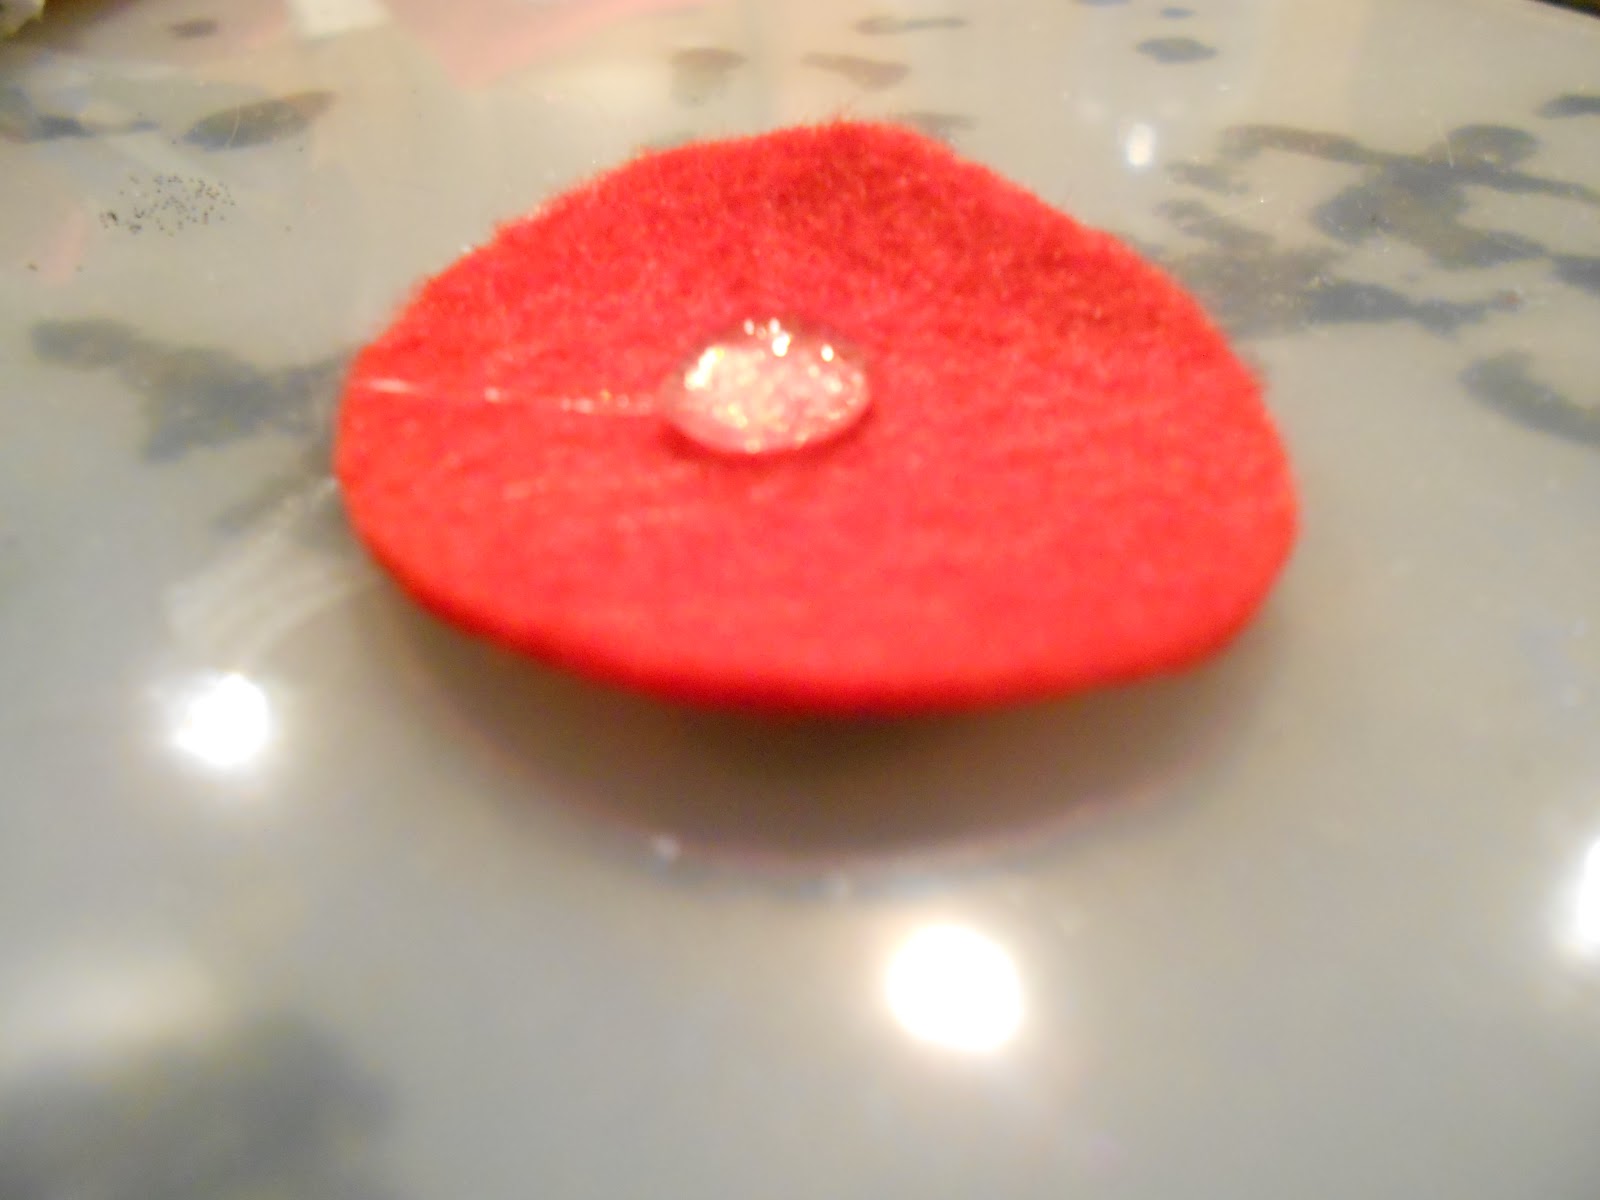
Now it's time to make the actual headband piece! On my little felt circle I put a dot of glue in the center.
Then put a burst on the glue dot. Hold it for about 5-10 seconds so the glue can set. Then add another dot of glue and add another burst. Keep doing that process until the red felt isn't visible or until your happy with your headband piece. Try to keep the bursts close together. To do this, I put put my dots of glue touching the burst that was already on the glued onto the felt.

 |
| Pretty pile of bursts. |
Let's attach this to some elastic! I like to use elastic headbands that can be found at Target or Walmart. This particular brand is Goody. You can use hard plastic headbands, I just don't like them because they hurt my head and I think these are more comfy for little kids to wear. To attach my bursts to the headband, I first cut my second felt circle to a smaller circle. This is just so that the elastic curves better around the wearer's head. Next cover the smaller circle with hot glue. Then place the elastic head band in the hot glue. I then quickly stuck it to the bottom of the larger felt circle that the bursts are attached to.


 |
|
| Normally the black band does't show. Peyton wouldn't let me tuck it under her hair. She just wanted her pretty back in her hair! |

I also put one on a hair clip. We made Dad wear it and then we made the dog wear it all just to get Peyton to put her headband on.
 |
| Isn't he pretty :P |
 |
| Yeah this stayed in her fur for about 2 minutes and then she some how got it out. |
No comments:
Post a Comment